

How to Patch Small, Medium & Massive Holes in Your Drywall
Posted by MagNate-O on Apr 25th 2025
Got a wall that looks like it’s been through a WWE match with your furniture? Whether you’re staring at a tiny nail hole or a gaping crater where a doorknob made a surprise appearance, we’ve got you covered. This guide will walk you through patching drywall step by step—no contractor required. Just grab the Gorilla Wall Repair Kit and get ready to flex those DIY muscles.
Why the Gorilla Wall Repair Kit Is a Must-Have
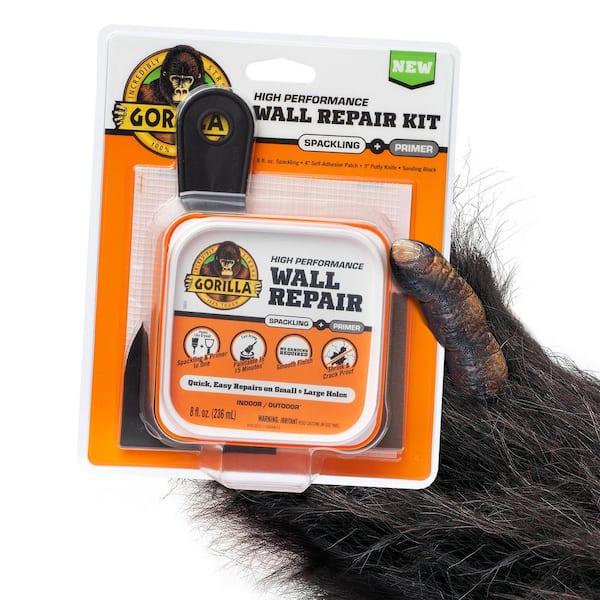
Before diving into the how-to, let’s talk tools. The Gorilla Wall Repair Kit is your all-in-one drywall repair sidekick. It comes with everything you need: drywall compound, a sanding block, a putty knife, and self-adhesive patches. No last-minute trips to the hardware store. No guesswork. Just everything you need to patch like a pro.
Here’s why it rules:
-
Easy to use: Even total beginners can handle it.
-
All-in-one: No scrambling for supplies.
-
Versatile: Handles nail holes to medium-sized dents.
Got your kit? Let’s fix some walls.
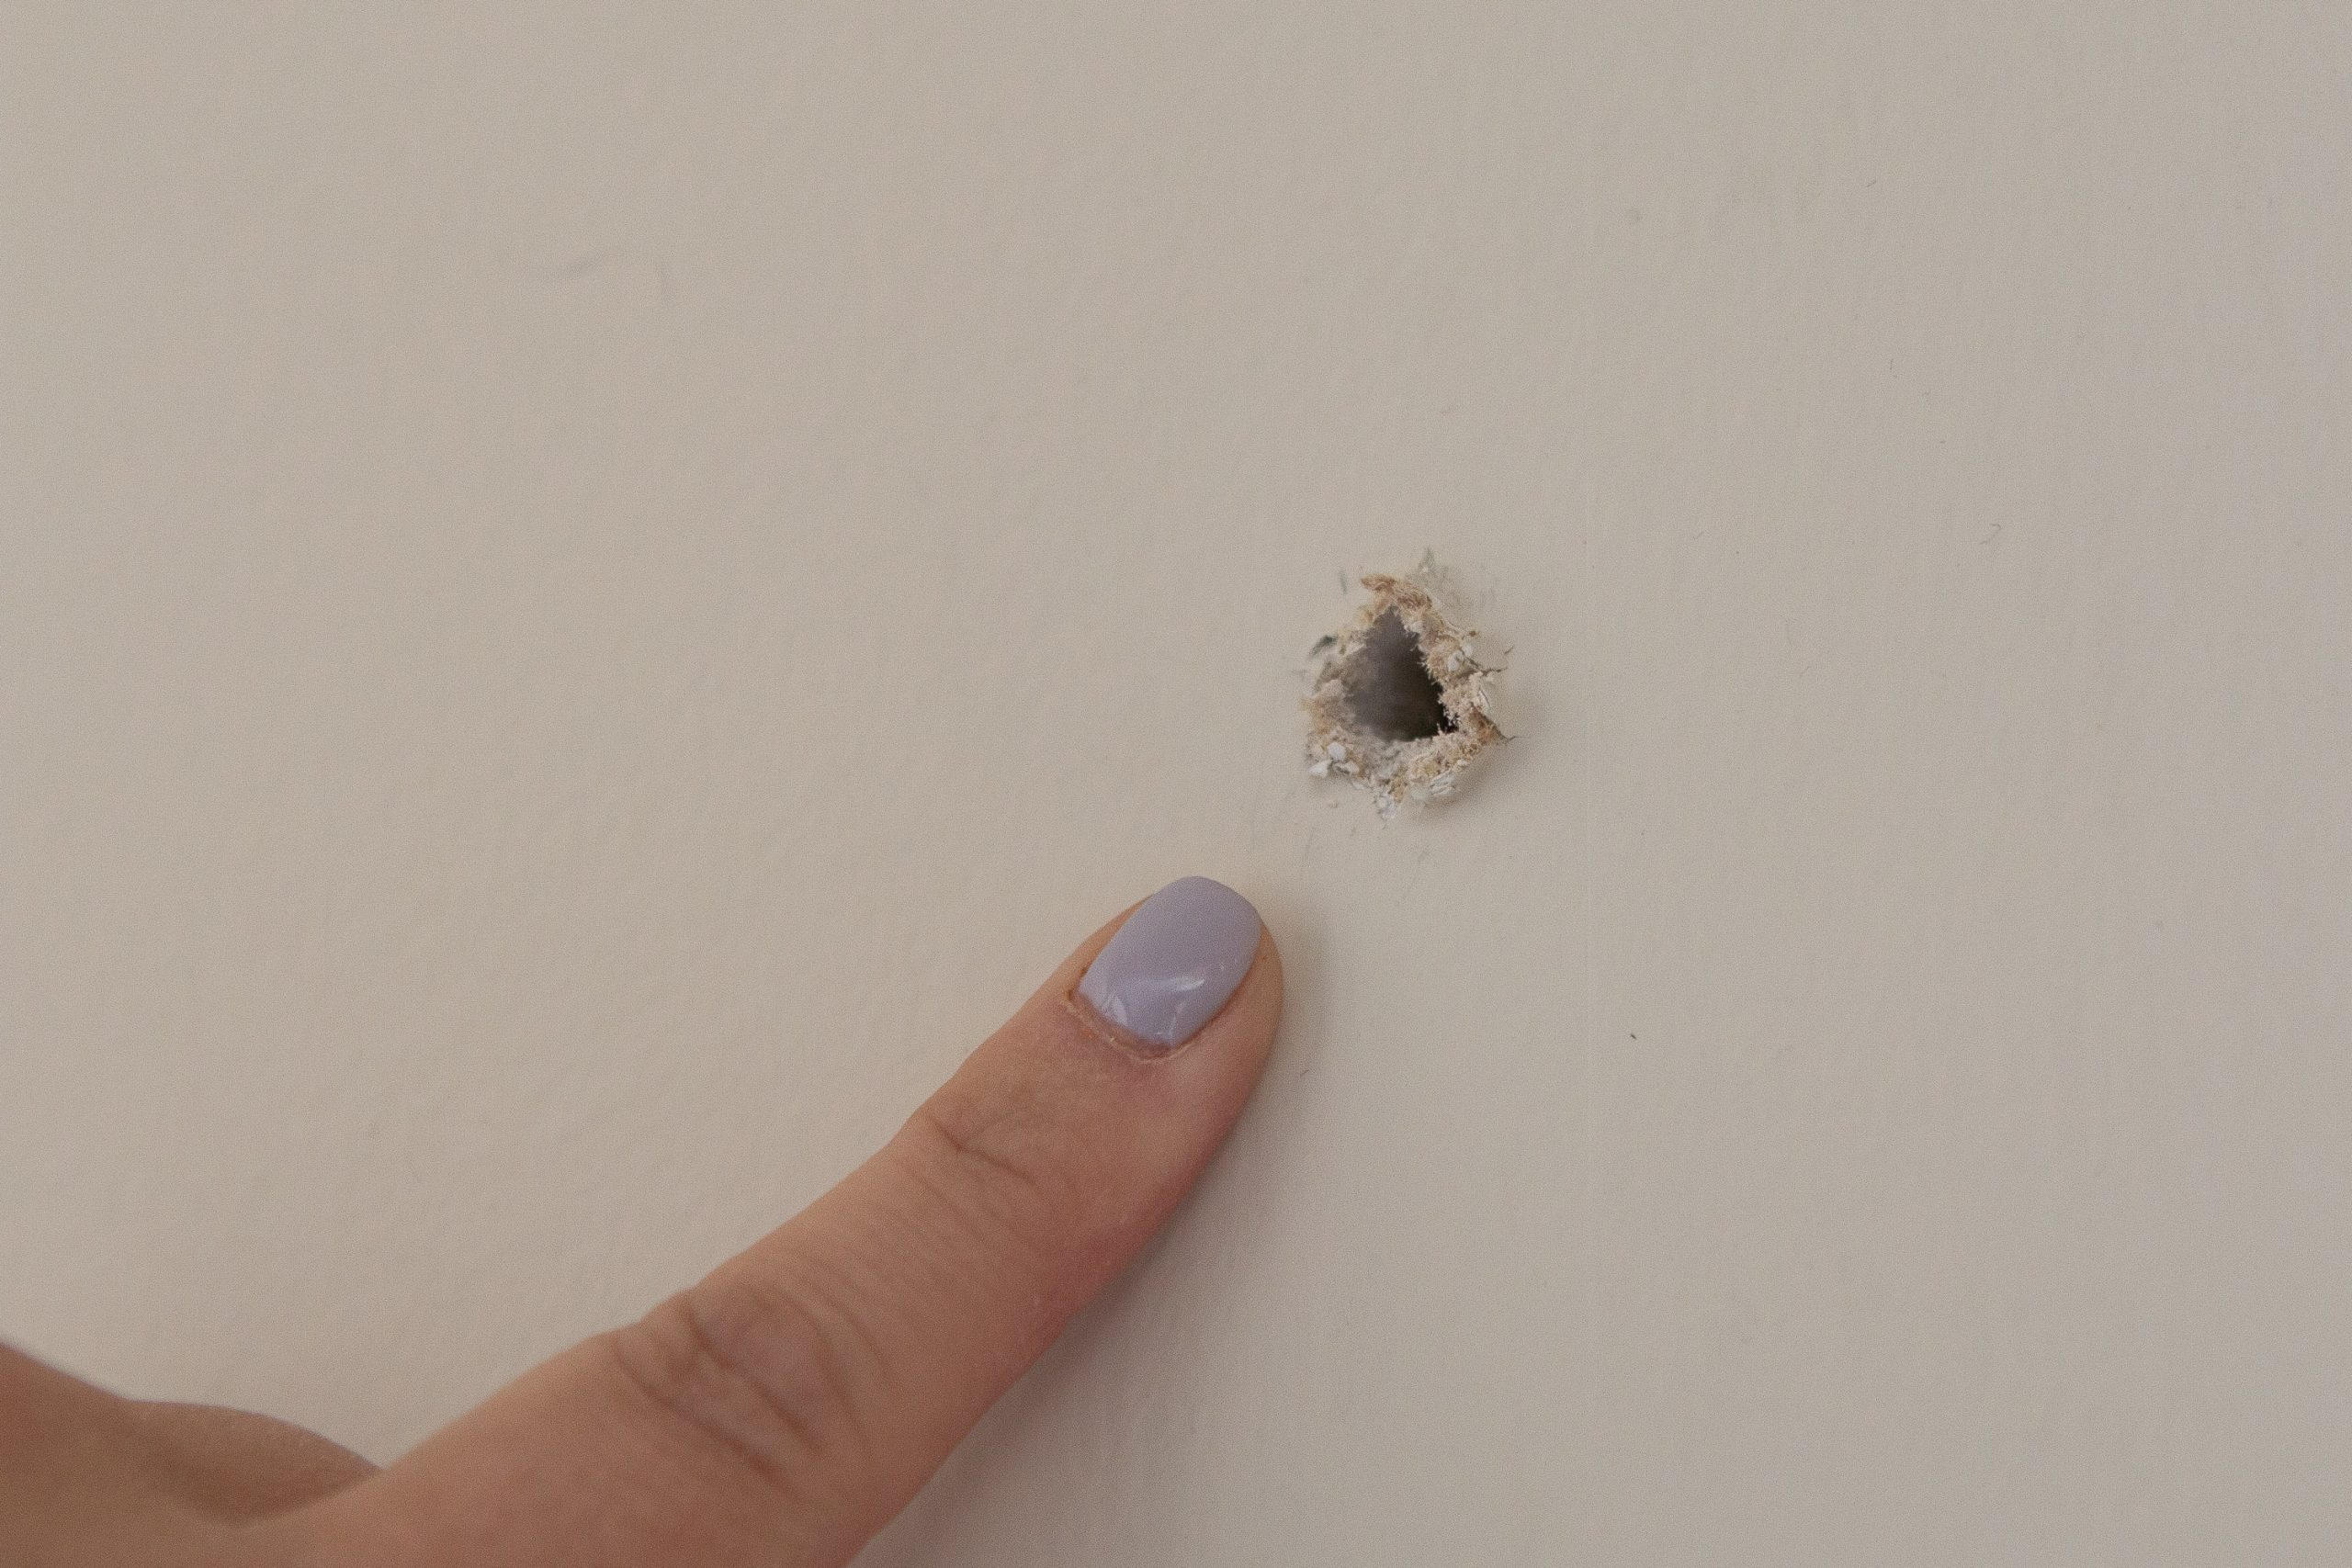
Step 1: Small Nail Holes
You’ll need:
-
Gorilla Wall Repair Kit
-
Putty knife
Instructions:
-
Sand It Smooth: Use the sanding block to clean up around the hole.
-
Apply Compound: Scoop out a small amount with your putty knife and spread it over the hole. Smooth it out evenly.
-
Let Dry & Sand: Once dry, sand the area. Repeat the process if needed for a perfect finish.
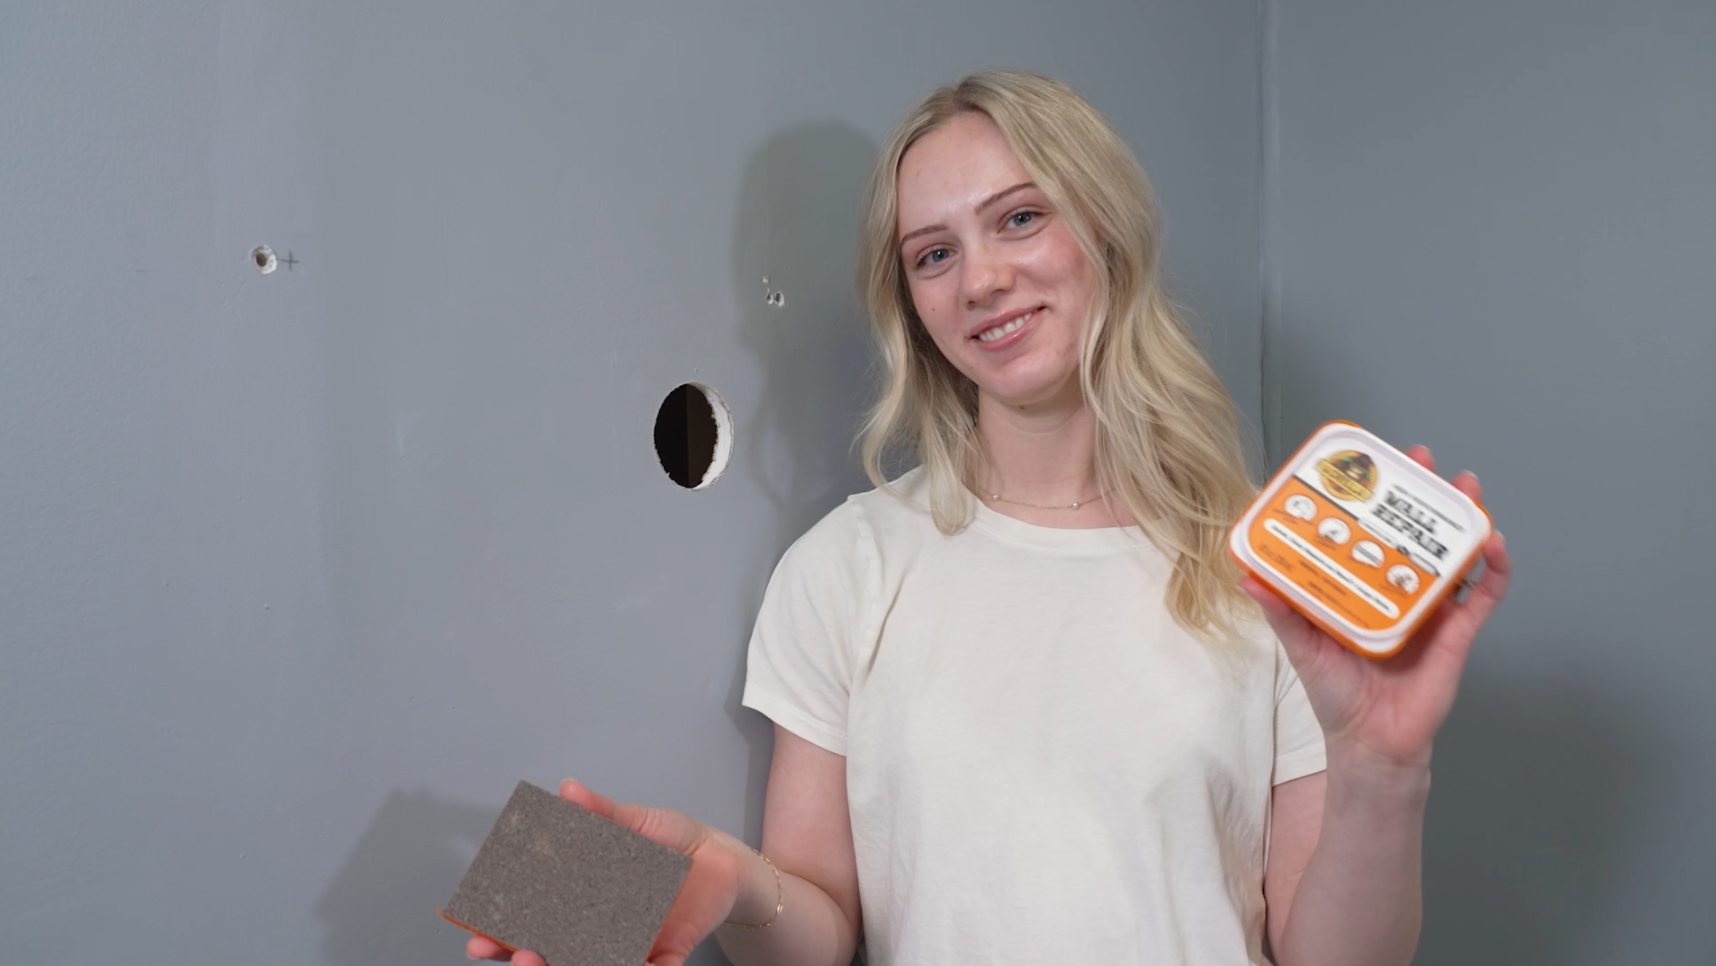
Step 2: Medium-Sized Holes
You’ll need:
-
Self-adhesive patch from the kit
-
Putty knife
Instructions:
-
Stick the Patch: Sand around the hole and press the patch over it.
-
Cover with Compound: Apply compound over the patch, feathering it beyond the edges.
-
Dry, Sand, Repeat: Let it dry, sand smooth, and repeat with a second coat if needed.
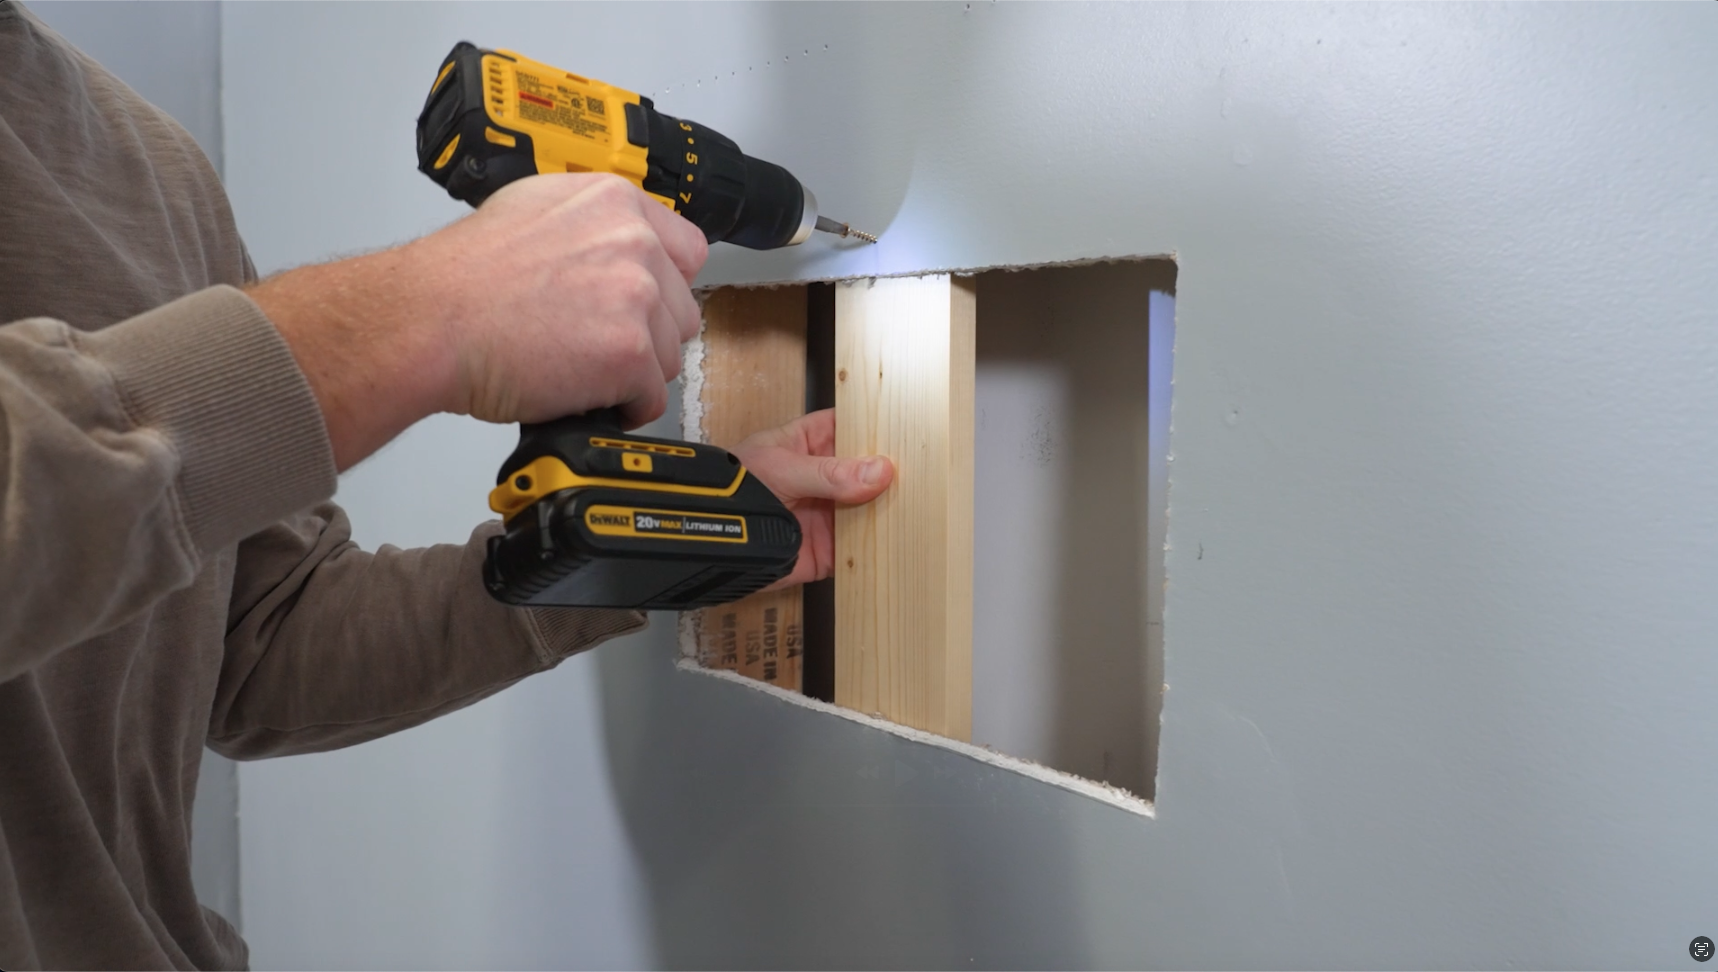
Step 3: Larger Holes
You’ll need:
-
Scrap wood
-
Drywall piece (cut to fit)
-
Drywall repair tape
-
Gorilla Wall Repair Kit
-
Drill or screwdriver
Instructions:
-
Add Support: Secure a piece of scrap wood behind the hole for support.
-
Insert Patch: Cut and insert drywall to fit the hole. Secure it to the backing wood.
-
Tape and Compound: Cover seams and screw heads with repair tape, then layer on compound.
-
Smooth It Out: Feather the compound, let it dry, sand it down, and repeat if necessary.
Final Touch: Paint It Like It Never Happened
Once your wall is smooth, go ahead and paint over the patch. Match the original color, and no one will ever know there was a hole there. Clean, seamless, and satisfying.
Pro Tips for Next-Level Results
-
Be Patient: Rushing leads to lumpy patches.
-
Thin Layers Win: Apply compound in thin coats for better blending.
-
Feather Edges: Extend the compound well past the patch for a seamless look.
Patching drywall doesn’t have to be intimidating. With the right tools and a little time, you can make those dents, dings, and disasters disappear. Grab your Gorilla Wall Repair Kit and show that drywall who’s boss.